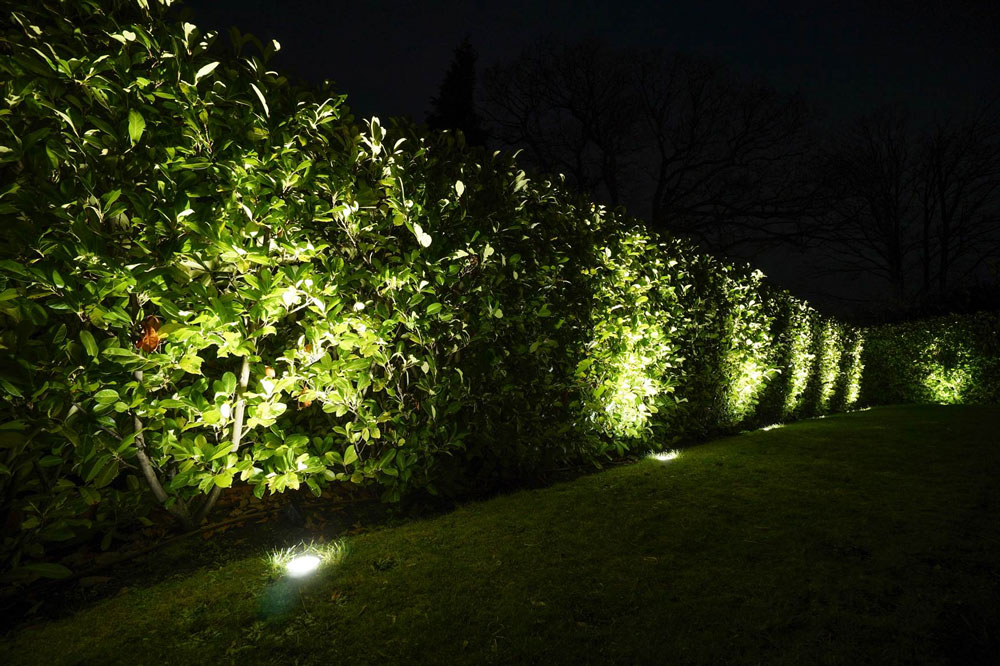
In this comprehensive guide, we’ll take you through the step-by-step process of installing uplights in a variety of surfaces – including soil, lawns, patios, and decking. From planning the layout and preparing the ground or surface, to ensuring proper drainage and making safe, waterproof connections, you'll find everything you need to achieve a professional, long-lasting finish.
How to Install Ground Uplights into Earth and Lawns – Step-by-Step Guide
Stage 1: Plan the Layout
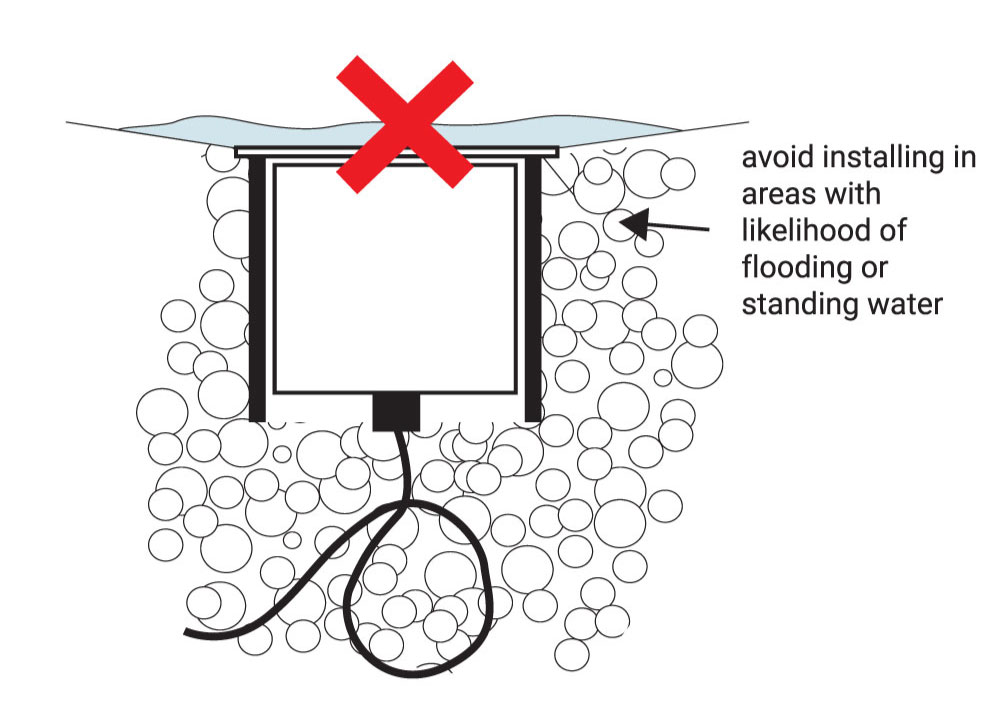
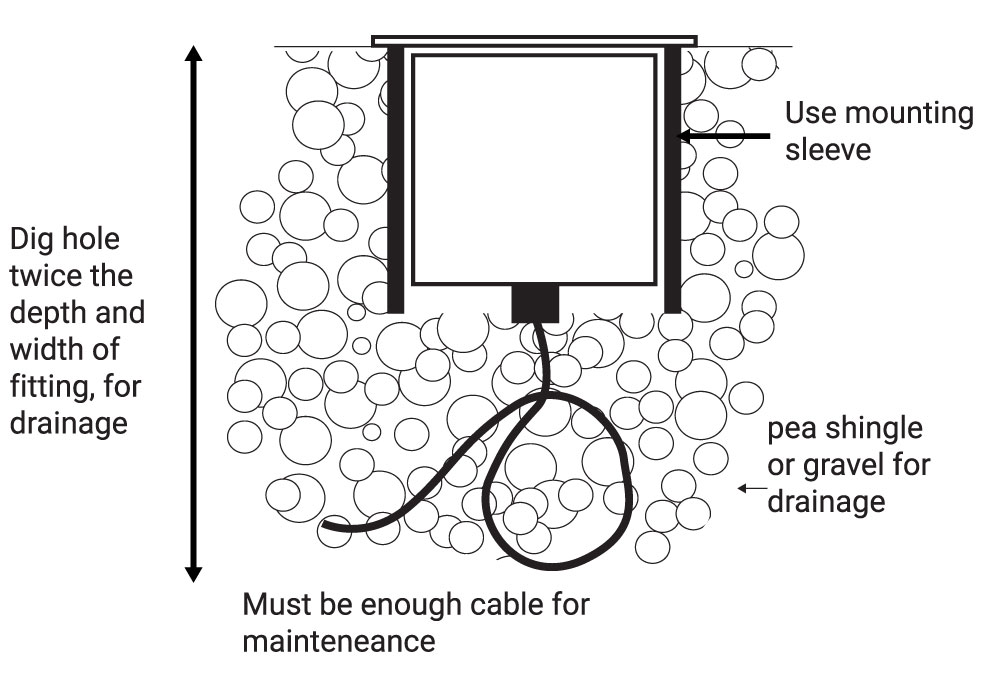
Mark the positions where you want each light. Check for underground pipes or cables before digging. If installing in soil or decking, ensure all connections and glands are waterproof. Use silicone gel to seal all joints.
Stage 2: Dig the Holes
Dig a hole about twice the depth and width of the fitting to allow for drainage and cable access.
Stage 3: Add Drainage
Add a layer of gravel to the base of each hole to help with water drainage and prevent build-up.
Stage 4: Lay the Cables
Run your cable in a shallow trench to each light point, leaving enough slack to connect easily.
Stage 5: Connect the Lights
Use waterproof connectors and silicone gel. Coil spare cable neatly in the base of the hole and check all seals are tight.
Stage 6: Install the Fittings
Place the uplight into the hole and pack tightly with pea shingle. Use a spirit level to ensure the light is flush and straight.
Stage 7: Test the Lights
Turn on the power and test each light to make sure everything is working correctly.
If you have any enquiries regarding ground uplights or would like a free quotation, feel free to get in touch with us at info@mr-resistor.co.uk.

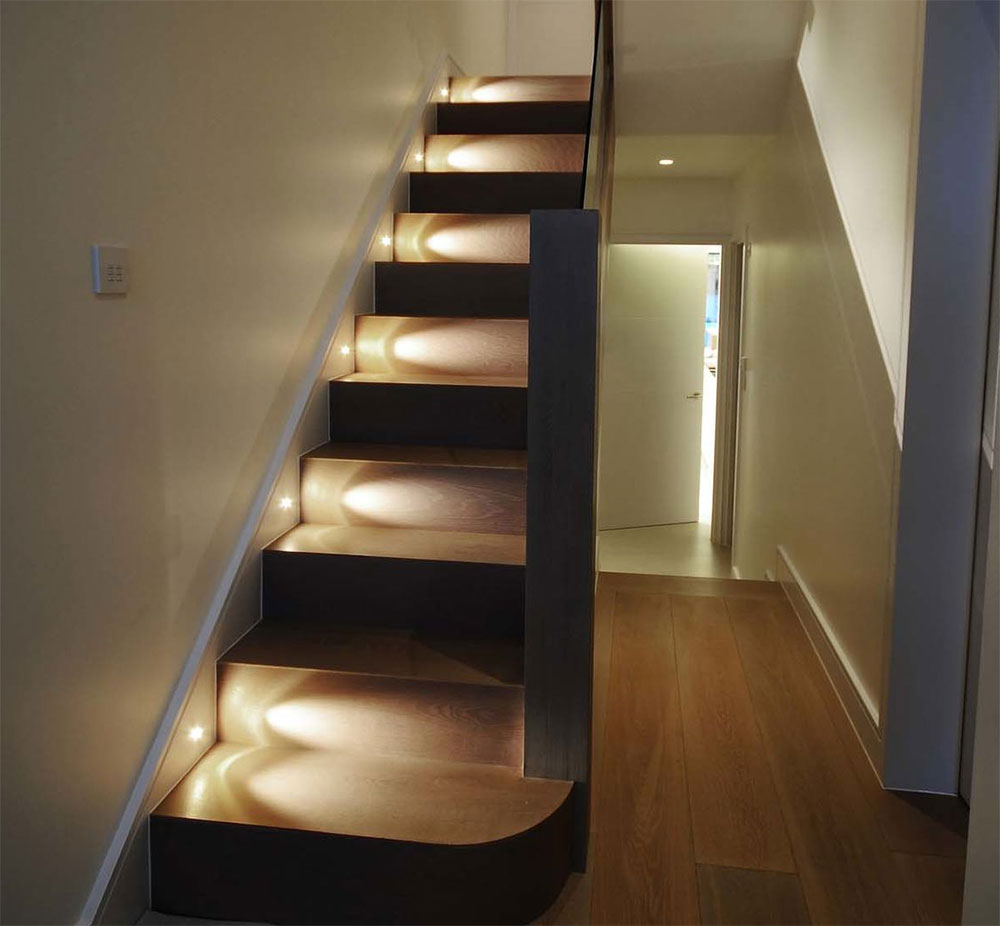
How to Install Uplights in Patios and Decking – A Step-by-Step Guide
Adding uplights to your patio or decking can completely transform your outdoor space, creating a warm and welcoming atmosphere that’s perfect for relaxing or entertaining. Whether you're lighting up a seating area, highlighting architectural features, or simply improving visibility at night, this guide will help you get started.
Note: As with any electrical installation, we always recommend seeking professional advice or hiring a qualified electrician to ensure a safe and compliant setup.
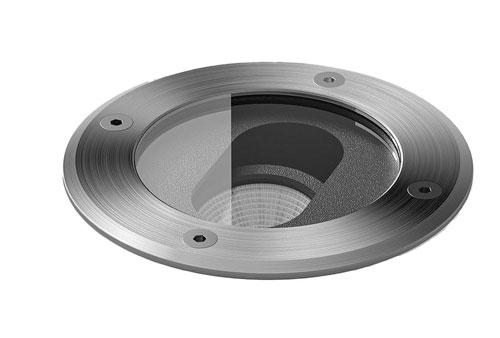
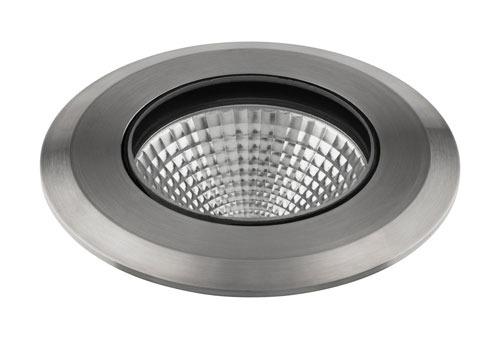
Step 1: Choose the Right Uplights
Select outdoor-rated uplights with at least an IP65 rating. Recessed deck lights work well in timber decking, while robust in-ground uplights are ideal for stone or paved patios. Decide between warm white, cool white, or colour-changing LEDs depending on the desired effect.
Step 2: Plan Your Layout
Sketch a plan and mark out where each uplight will go. For patios, common placements include near walls, steps, or around edges. For decking, lights are often installed between boards or around the perimeter. Adjust spacing based on how bright or subtle you want the lighting effect to be.
Step 3: Check Access to Power
Ensure you have an outdoor power source with RCD protection. Plan where the cables will run—beneath the decking or between paving slabs. You can use mains, low-voltage, or even solar lighting, depending on your setup.
Step 4: Prepare the Surface
Decking: Remove relevant boards, drill holes for the lights, and check space beneath for cable routing.
Patios: Lift slabs or use a core drill to cut holes to fit the light fittings. Consider hiring a professional for stone or concrete cutting.
Step 5: Install Conduit and Cabling
Use outdoor conduit to protect your cables. Lay it securely beneath the surface. Leave slack cable at each fitting location to allow easy connection and adjustment.
Step 6: Connect the Uplights
Use waterproof connectors to attach each light to the cable. Ensure correct polarity and secure the wiring neatly beneath the surface or within junction boxes if required.
Step 7: Secure the Fittings
Decking: Fit the lights into drilled holes and screw deck boards back in place. Patios:Insert fittings into place and seal edges with weatherproof silicone or mortar to protect against water ingress.
Step 8: Test and Enjoy
Switch on the power and check everything is working. Adjust any adjustable heads if needed, and enjoy the effect your new lighting brings to the space.
Final Tips
- Follow the manufacturer’s instructions for each fitting.
- Use a qualified electrician for all mains power work.
- Consider adding a timer, dimmer, or smart controls for convenience and energy savings.